Moving out? Deep-cleaning your old place often decides whether you get your whole deposit back. Most leases call for “broom-clean” condition—basically how you found it, minus normal wear. Use this quick checklist to scrub top-to-bottom and leave your landlord smiling.
Before you begin: Put on some favorite upbeat music, throw on comfortable clothes, and gather your cleaning supplies. It’s a workout, but with a plan (and maybe a friend to help), you’ve got this!
You can download a PDF version of our checklist if you’re looking for a simple checklist. If you want to see the details or explore individual items, read our article below.
Move-Out Cleaning ChecklistBefore You Clean: Prep Steps
Review Your Lease or Landlord’s List:
Double-check if your landlord provided a move-out cleaning checklist or specific instructions. Some property managers outline what to clean (and the charges for anything you miss). Knowing their expectations helps you prioritize.
Assemble Your Supplies:
Save time by having everything ready. You’ll need:
- garbage bags;
- an all-purpose cleaner;
- glass cleaner;
- rubber gloves;
- sponges;
- microfiber cloths;
- paper towels;
- a mop;
- a broom and dustpan;
- and a vacuum.
Also grab baking soda, white vinegar, and dish soap – these inexpensive staples handle many cleaning tasks.
Don’t forget tools like:
- a step stool (for high spots);
- scrub brushes;
- a bucket;
- and maybe an old toothbrush for detail scrubbing.
Keep a caddy or bucket of cleaning supplies with you as you go room to room. It’ll save you from running back and forth.
Create a cleaning “playlist” or podcast queue before you start. It makes the time go faster and turns a chore into a mini dance party (nobody’s watching, so go ahead and belt out that chorus while scrubbing the shower!).
Declutter and Empty First:
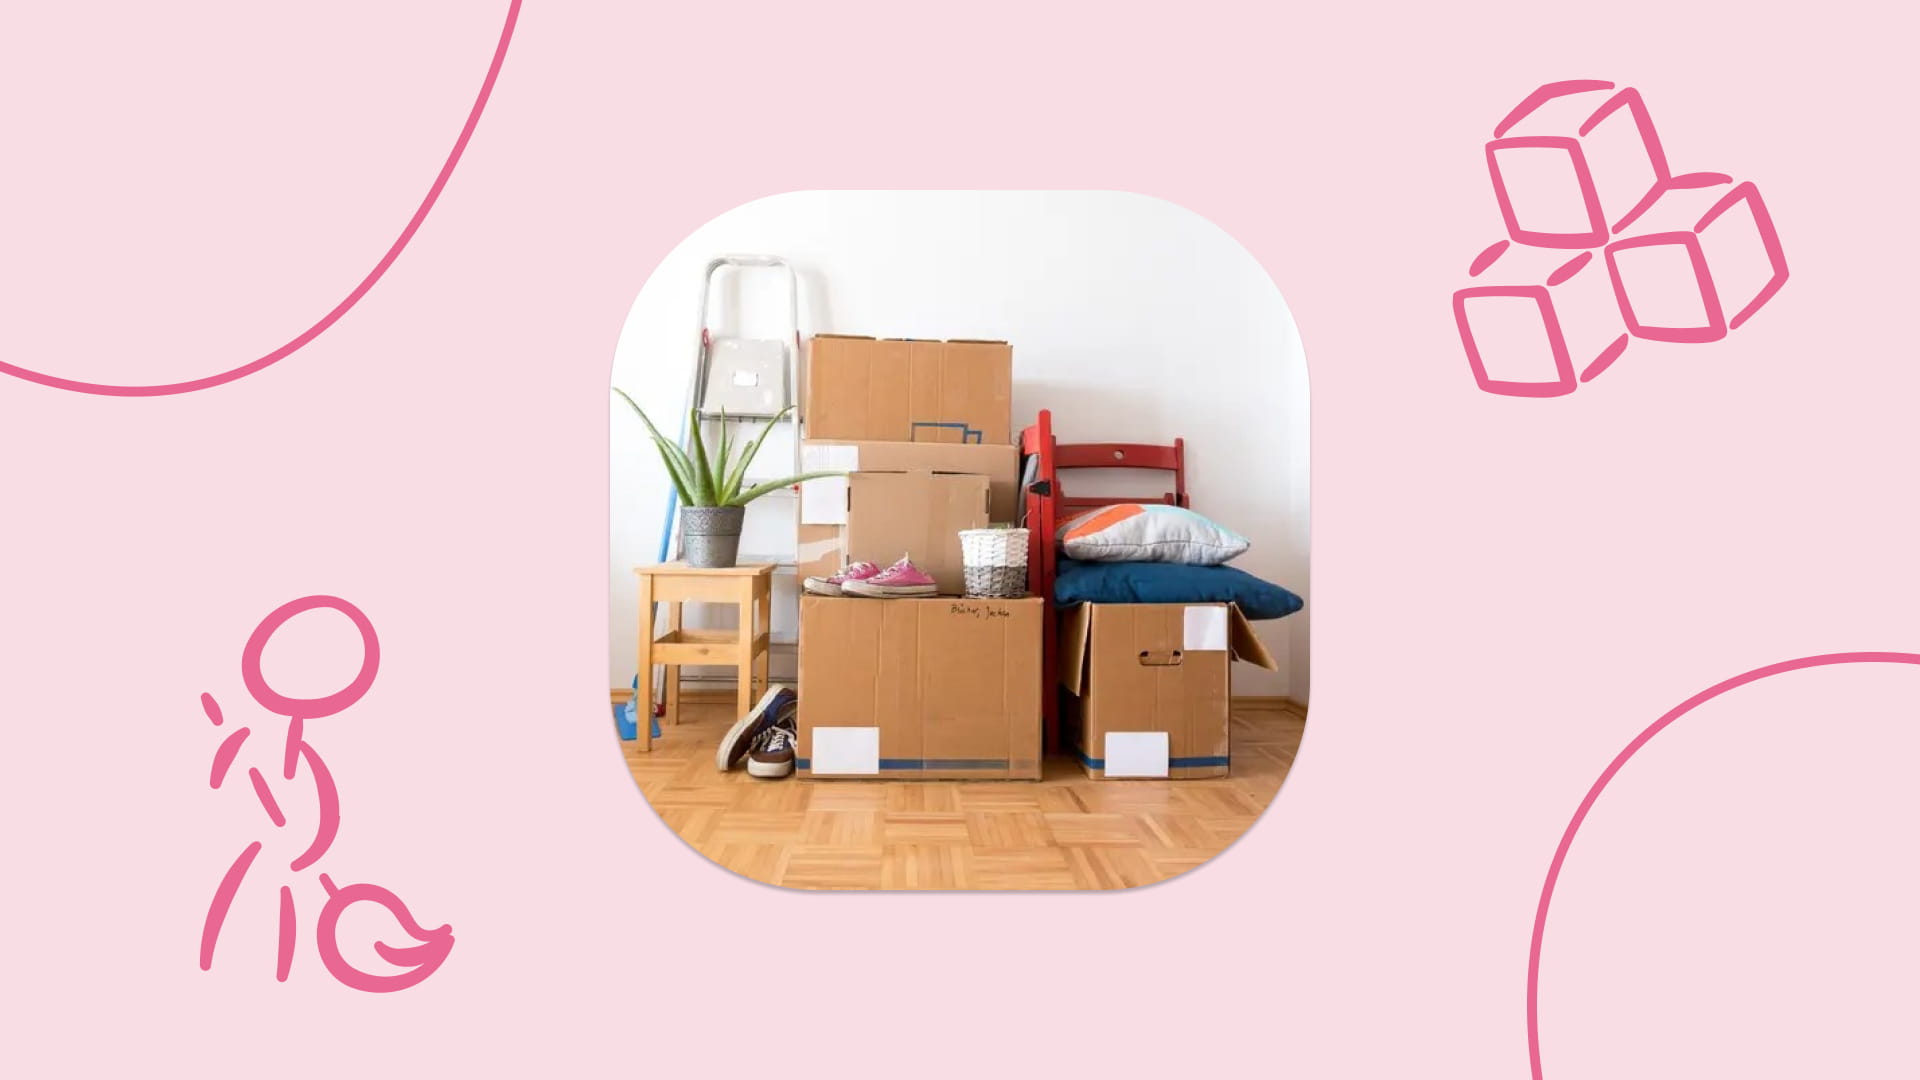
Cleaning is easiest in an empty apartment. Before deep cleaning, move out as much as possible. Pack up knick-knacks, clear off counters, and pull furniture away from walls. This gives you full access to surfaces that need cleaning. Plus, it prevents needing to clean around (or under) stuff later. Minor Repairs:
As you prep, note any damage. Remove nails, tacks, or stickers from walls. Fill nail holes with spackle and a putty knife, wiping off excess for a smooth finish. If you painted any walls a custom color, check your lease – you may need to repaint them back to the original color. It’s easier to do these fixes before you’ve cleaned the floors. Also, replace any burnt-out light bulbs and test smoke detectors (install fresh batteries if needed).
Safety Check:
Make sure you have ventilation when using cleaning products (open a window or run the fan), especially with bleach or ammonia-based cleaners. Never mix bleach and ammonia cleaners together – the combination produces toxic fumes. If you’re climbing to clean high areas or lifting appliances, have a buddy spot you. Your safety matters more than a perfectly clean cabinet top.
With prep work done, it’s time to roll up your sleeves and start cleaning.
The golden rule: top-to-bottom, one room at a time. This way, dust and dirt fall to the floor, which you’ll clean last.
1. Top-to-Bottom Cleaning in Every Room
Start with tasks that apply throughout the whole apartment:
Ceilings & High Areas:
Look up – that’s where we begin! Dust down cobwebs from ceiling corners and along crown molding. If you have a ceiling fan, it’s probably wearing a fuzzy dust sweater. Use a long-handled duster or try the pillowcase trick: slide an old pillowcase over each fan blade and wipe – it catches dust inside, instead of letting it fall. Don’t forget ceiling light fixtures; gently wipe or remove glass covers to dump out dead bugs and dust.
Walls & Trim:
Next, tackle the walls. Remove any nails, screws, or hooks you installed. Apply spackle to holes and touch up with matching paint if you have it. Once that’s done, wipe down the walls to remove dust, splatters, and ghostly furniture outlines.
Doors & Cabinets:
Use an all-purpose cleaner to wipe doors, door knobs, and door frames. Open each cabinet and drawer to ensure you didn’t miss any bits of food, hair, or random thumbtacks.
Windows & Blinds:
Clean windows make a huge difference in how a place feels. Dust the blinds first – close them and wipe with a damp cloth, then flip and do the other side. (If you have removable window screens, you can quickly dust or rinse them as well – but don’t risk climbing out windows if it’s not safe to remove them). Next, wash the window glass. Spray your glass cleaner and wipe with a lint-free cloth or newspaper in a Z-pattern for a streak-free shine.
Remember to slide the window open and wipe the tracks and sills; they often have dead bugs or dirt. Sparkling windows & sills will certainly impress during the move-out inspection.
Floors (Last Step in Each Room):
We’ll save the bulk of floor cleaning for the very end, but you can do some pre-cleaning now. In each room, after you’ve done the above, give the floor a quick once-over: vacuum carpets or sweep hard floors to pick up initial debris.
Now, let’s get specific room by room, since the kitchen and bathroom will need extra love.
2. Kitchen
Work left-to-right, top-to-bottom so you don’t miss a spot.
Appliances:
- Fridge/Freezer: Empty, bin the science-project sauces, wash shelves in hot soapy water, wipe walls and the gasket. Vacuum coils and sweep behind. Prop doors open and leave a fresh box of baking soda.
- Oven & Stovetop: Self-clean cycle if time allows; otherwise coat the interior with a baking-soda paste, spritz with vinegar, then scrub. Soak grates/drip pans in the sink and wipe the stovetop (lift coils if electric). Degrease the range-hood filter.
- Microwave: Steam-clean—bowl of water + splash of vinegar 3 min on high, then wipe.
Cabinets & Drawers:
Empty everything, vacuum crumbs, wipe inside shelves and outside doors/handles with warm sudsy water. Leave doors open to air-dry and signal “done.”
Counters & Sink:
- Wipe counters and backsplash with the right cleaner for the surface.
- Sink/Disposal: Scrub basin with baking soda. Pour ½ cup baking soda + 1 cup vinegar down the disposal, flush hot water, then grind ice + lemon for fresh scent.
Never stick your hand in a plugged-in disposal—switch it off first.
Floor:
Vacuum edges and under appliances, then mop with a degreasing cleaner (second pass with plain water to avoid sticky residue). Let it dry—no one wants skid marks on move-out day.
Take a step back: if every surface looks and smells food-commercial ready, you’re done with the toughest room.
3. Bathroom
Tackle the bathroom last so you can wash up while you work—then give it one final wipe-down.
Shower/Tub:
Remove all toiletries, spritz a 50/50 vinegar-hot-water mix with a squeeze of dish soap, wait 5 min, scrub walls, basin, and fixtures. Hit stubborn grout or mildew with a bleach gel pen, rinse, and wipe chrome dry.
Toilet:
Coat the bowl under the rim with cleaner and let it sit. Disinfect tank, handle, seat (both sides), and base; scrub bowl, pumice away rings, flush, close lid.
Sink & Vanity:
Empty drawers, vacuum loose hair, wipe interiors. Scrub basin with baking-soda paste, polish faucet with vinegar, yank any drain hair so water runs clear.
Mirror & Glass:
Glass cleaner + microfiber = streak-free shine on mirror and any shower doors.
Floor & Finishing Touches:
Vacuum up hair (don’t forget behind the toilet), mop with disinfectant, dust the vent fan grille, ditch the trash bag, and remove any liners or grody shower curtains.
Bleach or mildew removers need airflow—fan on, window cracked, never mix bleach with ammonia or vinegar.
Step back: gleaming surfaces, no soap scum, no stray hairs. Bathroom? Nailed it.
4. Bedrooms & Living Room
Pretend you’re filming a real-estate walk-through—anything the lens would catch, clean it.
Closets:
Empty everything, wipe shelves/rods, change dead bulbs, vacuum the floor (sprinkle carpet deodorizer if it smells musty).
Fans, Vents, Windows:
Dust fan blades (pillow-case trick) and HVAC vents. Crack each window for fresh air, then close & lock.
Walls & Trim:
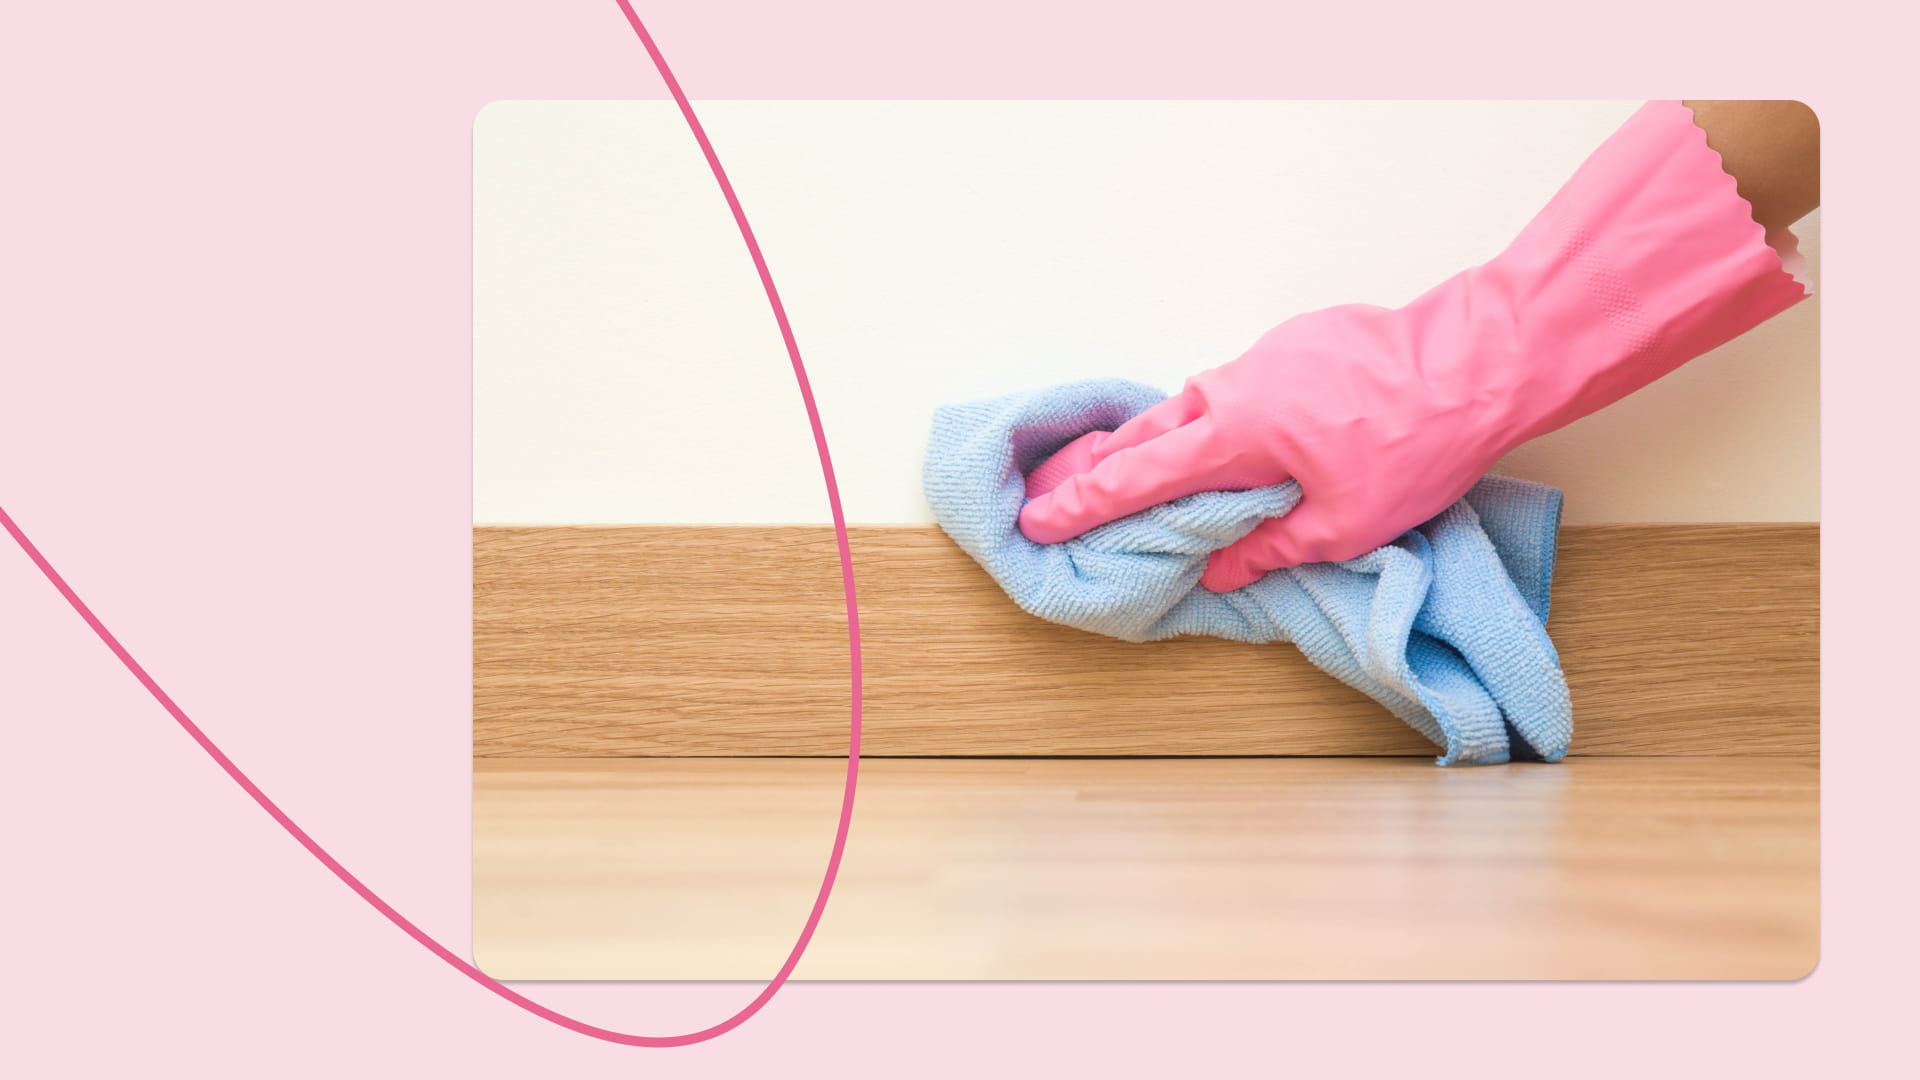
Scan for scuffs—erase with a magic eraser. Run a damp cloth or vacuum brush along baseboards for a dust-free edge.
Lights & Fixtures:
Dust shades, tighten any loose knobs, and replace burnt bulbs. Leave lights on for the final walk-through “showroom” effect.
Floors:
- Carpet: Slow, two-direction vacuum; spot-treat stains; mist vinegar-water to kill pet smells.
- Hard Floors: Sweep, then mop with surface-safe cleaner. Wring mop well—no puddles, no streaks.
Wet wood warps—keep mop barely damp on hardwood.
Stand in the doorway. Does the room look Airbnb-ready? If yes, you’re done here.
5. Final Walk-Through
Trash Out:
Grab every bag, box, or stray bottle—dumpster, not doorway. Don’t forget balcony or storage closets.
Spot-Check Like Management:
- ✔ Kitchen — open every cabinet, peek in oven, fridge, dishwasher, wipe any new crumbs.
- ✔ Bathroom — lid down, bowl clean, tub/sink dry, mirror streak-free.
- ✔ Bed/Living — closets empty, windows latch, baseboards dust-free.
- ✔ Laundry/Utility — no lint piles, no puddles, filter in place.
- ✔ Patio/Entry — sweep, yank forgotten doormat, shut storage door.
Locks & Keys:
Close windows, switch off lights (unless told otherwise), lock the door. Gather keys, gate fob, remote into one labelled bag.
Photo Proof:
Snap a quick set of timestamped pics—each room, inside appliances, floors, walls. Handy insurance if deductions pop up later.
Meters (if billed separately):
Photo the final electric/gas/water readings so closing accounts is painless.
Leave a short thank-you note dated with today’s clean-up—small gesture, big goodwill.
Step outside, inhale that “job-well-done” feeling. Deposit? Practically in your pocket.
6. When to Consider Professional Help

A spotless clean can feel like a second full-time job. If your move-out clock is ticking—or scrubbing ovens just isn’t happening—hiring movers and the pro cleaners, can save your deposit and your sanity.
What it costs: National average hovers around $360 for a mid-size apartment (more for large units, less for studios). Price depends on square footage, city rates, and add-ons like carpet shampooing or fridge detailing.
Smart-Hire Checklist
- ✔ Book timing: Empty apartment first, cleaners second, landlord walk-through last.
- ✔ Vet them: Check reviews, request a flat quote in writing. “Move-out clean” should be a menu item, not an afterthought.
- ✔ Share your landlord’s list: Hand the cleaners any must-do items so nothing critical gets skipped.
- ✔ DIY touch-ups: Pros wipe, scrub, and shine—but patching holes, swapping bulbs, or repainting accent walls is still on you.
Mix & match. Do quick wins yourself (trash-out, light dusting) and pay for time-eaters (carpets, greasy appliances). Often the hybrid route nets the same deposit with half the bill.
When the choice is lose $900 in deposit deductions or spend $360 on cleaners, the math writes itself.
(For guidance on safe chemical use, see the CDC’s Cleaning & Disinfecting Best Practices.)
In Lieu of Last Words
- Top ➜ Bottom: Fans first, floors last.
- Details Matter: Baseboards, oven, window tracks, behind appliances—inspect like a landlord.
- Right Tools: Use surface-safe cleaners; avoid damage = avoid fees.
- Plan Time: Cleaning always outlasts your estimate—start early.
- Pros Are Plan B: If energy or hours run out, hire vetted cleaners and protect that deposit.
Hand over spotless keys, pocket your full refund, and treat yourself to take-out in the new place. Move finished, wallet happy—on to fresh beginnings!
